What Height Should a Bicycle Seat Be? A Practical Guide
An expert, educational guide to setting the correct bicycle seat height for comfort, efficiency, and knee health. Learn to measure your inseam, apply proven methods, verify knee angle, and fine-tune safely with a step-by-step setup.

This guide will help you determine the correct bicycle seat height for comfortable pedaling and efficient power transfer. You'll learn how to measure your inseam, apply common methods (inseam-based, crank-based, and kickstand checks), and verify proper knee angle and fore-aft position. Prepare a small toolkit and a flat, stable work area.
Why correct seat height matters
Understanding what height bicycle seat to use is essential for comfort, efficiency, and long-term knee health. When the saddle is too high, your hips can rock and your pedaling becomes imprecise, leading to wasted energy and potential knee strain. If the seat is too low, your knee cannot fully extend, which also reduces efficiency and can cause discomfort on longer rides. The right height supports a smooth pedal stroke, reduces fatigue, and allows better control of the bike in varied terrain. BicycleCost highlights that a well-set seat height improves power transfer and reduces injury risk, especially for riders who log many miles per week. This is a foundational adjustment you can perform with simple tools and careful measurement.
How to measure your inseam accurately
A precise inseam measurement is the basis for a good starting seat height. Stand straight with your feet about hip-width apart, wearing cycling shoes if you ride with cleats. Use a books-and-wall method: place a book between your legs, pull it up to mimic the saddle, and measure from the floor to the top edge of the book. Record the measurement in centimeters or inches. For consistency, take the measurement on a hard surface and with the same footwear you typically ride in. This inseam will guide your initial seat height and help you compare adjustments over time.
Primary methods to set seat height
There are several practical approaches you can use to establish an initial seat height.
- Inseam method: Multiply your inseam by a conservative factor to estimate a starting post height. This gives a safe baseline from which to fine-tune.
- Crank-bottom method: With the crank at the bottom position, check knee bend; your knee should be slightly bent rather than hyperextended. This method is a quick sanity check after you’ve installed the seat.
- Fore-aft and reach checks: After height is roughly set, adjust the saddle forward or backward to achieve a comfortable reach to the handlebars and a stable hip position during pedal strokes. Small fore-aft shifts can dramatically improve comfort and control.
Step-by-step checks and adjustments
Even after you set an initial height, you should verify with a ride test and make micro-adjustments. Start with short, flat-world tests before tackling hills. Pay attention to knee comfort, hip stability, and overall balance. If you experience knee pain or hip rocking, reevaluate the height and fore-aft position and recheck your inseam-based baseline. Recording changes helps you reproduce success on future bike setups.
Comfort, safety, and biomechanics
Biomechanics play a major role in seat height. The goal is a natural knee bend, stable hips, and a smooth pedal stroke. Even small changes can shift load distribution across the quadriceps, hamstrings, and knee joint. Seek a balance between a comfortable range of motion and efficient pedaling. If you frequently feel ankle, shin, or back strain, recheck your setup and consider a professional bike fit for biomechanical optimization.
Maintenance and rechecking seat height
Seat height can drift due to post movement, frame flex, or component swaps. Recheck height after replacing the saddle, changing the crank length, or performing a service that affects geometry. Keeping a quick baseline record helps you quickly restore correct height after maintenance. Regular checks—every few weeks for casual riders, monthly for daily commuters—keep you at peak comfort and performance.
Custom considerations for different bikes and riders
Different bikes—road, mountain, or gravel—present varying geometry. A seat height suitable for a road bike may feel high or low on an MTB due to different seatpost lengths and frame angles. Riders with long legs, short torsos, or mobility limits may require tailored adjustments or a professional fit. Always calibrate for each bike you ride and consider a post-ride assessment to refine your setup based on terrain and riding style.
Tools & Materials
- Tape measure(to measure inseam and seat height clearance)
- Allen keys (4mm and 5mm)(for saddle clamp and post adjustments)
- Bike stand or stable mounting area(keeps bike steady during setup)
- Marker or chalk(mark your reference height for repeatability)
- Notebook and pen(to record measurements and final height)
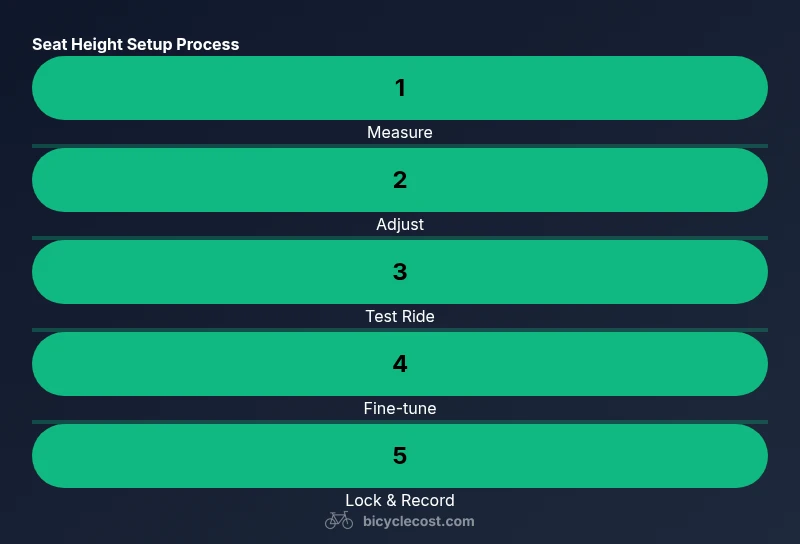
Steps
Estimated time: 45-90 minutes
- 1
Prepare bike and workspace
Set up your bike on a stand or stable surface. Ensure the bike is level, the wheels are stationary, and the seat post is accessible. This creates a reliable baseline for measurement.
Tip: Use a torque wrench if available to avoid over-tightening clamps. - 2
Measure inseam and determine initial height
Stand straight with feet shoulder-width apart. Measure from the floor to the top of your inseam while wearing lightweight cycling shoes. Multiply by a conservative factor to get a starting post height. This gives you a safe starting point.
Tip: Keep the non-dominant leg slightly bent during measurement. - 3
Set initial seat height by inseam method
Raise or lower the seat until the leg is near full extension at the bottom pedal with a slight bend in the knee. Avoid hyperextension. This creates efficient pedaling without knee strain.
Tip: Make micro-adjustments in 1–2 mm increments. - 4
Verify knee angle and adjust fore-aft
With the crank at the bottom, check that the knee has a gentle bend (~15-25 degrees) to prevent overextension. Adjust fore-aft as needed for comfortable reach.
Tip: If your hips rock, it’s usually fore-aft; adjust the saddle forward or backward. - 5
Test ride and reassess
Take a short ride on a flat area. Pay attention to knee comfort, hip stability, and pedal stroke. Re-measure and adjust if you notice discomfort or instability.
Tip: Warm up your legs before final adjustments. - 6
Lock in and recheck periodically
Once satisfied, re-tighten clamps and record the setting. Check height every few weeks or after major changes.
Tip: Remember that seat height can shift with seatpost slip or frame flex.
People Also Ask
What is the correct knee bend when pedaling?
A natural, slight bend in the knee at the bottom of the pedal stroke is typical. Avoid full extension or a locked knee, which can cause strain. Adjust height to maintain this comfortable bend during a full rotation.
Aim for a slight knee bend at the bottom of the pedal stroke to prevent strain.
Should seat height be the same for all riding styles?
Not always. Road, mountain, and commuting riders may favor small fore-aft adjustments and different saddle angles for comfort and control. Start with a baseline, then tailor to style and terrain.
Start with a baseline height, then adjust for road or trail riding.
How often should I recheck seat height?
Recheck after major changes (new saddle, crank length, or post replacement) and periodically as you ride, especially if you notice knee or hip discomfort.
Check height after big changes or if you feel discomfort.
What if one leg is longer than the other?
A noticeable discrepancy can require asymmetric saddle adjustments or foot-based compensations. Consider a bike fit with a professional to determine safe, long-term solutions.
If legs differ, get a professional bike fit.
Is seat height the same on all bikes?
No. Seat height is bike-specific due to frame geometry, seatpost insertion, and crank length. Always set height for each bike you ride.
Set height for each bike individually.
Watch Video
Quick Summary
- Measure inseam and start with a safe baseline
- Use the knee bend and crank position as checks
- Fine-tune with small adjustments and test rides
- Record final height and recheck periodically